Binding Your Quilt In A Simple Way
 Most of us love quilting, but when it comes to binding, it becomes a nightmare. Now, there is a simple method to bind your quilts. First and foremost, calculate the quilt’s perimeter. Add the quilt’s length and width and multiply the resultant answer by two. Make sure to add an extra ten inch to accommodate the corner and seams. After calculating, divide the number by 40. As the perimeter of your quilt turns out to be 262 inches, divide 262 by 40. The answer would be 6.55. Now, cut seven fabric strips that will act as your binding pieces.
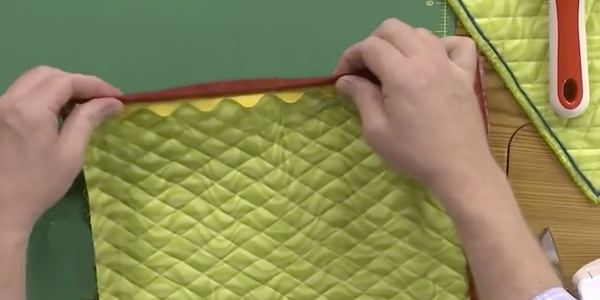
Cut the strips a little wider to facilitate a better binding. Position any two pieces so that the right sides remain together. Make sure that the pieces meet at 90-degree angle. While sewing, choose a 45-degree angle to distribute the bulk. If you are a beginner, press the ends to create a sewing line so that you can sew with ease. Cut the excess fabric before you begin attaching. Position your binding strips along the quilt with 6 to 8 inches’ space at the corners. Start sewing to attach the binding pieces to the quilt. You can obtain a perfect finish to your quilt by working on different techniques.
 It is essential to understand the use of a presser foot for quilting with ease. First, form a quilt sandwich by attaching the quilt top, quilt backing, and quilt batting together. Make sure to have a larger batting and backing to accommodate the quilt top. The batting should be two inches bigger and the quilt backing one inch larger. After gathering the pieces, place the right side of the quilt backing downwards. Position the batting on top of the quilt backing. Eliminate the wrinkles and create a smooth surface. Center up the placement of the batting. Finally, place the quilt top above the batting by smoothing the surface.