Utilizing The Walking Foot For Quilting
 It is essential to understand the use of a presser foot for quilting with ease. First, form a quilt sandwich by attaching the quilt top, quilt backing, and quilt batting together. Make sure to have a larger batting and backing to accommodate the quilt top. The batting should be two inches bigger and the quilt backing one inch larger. After gathering the pieces, place the right side of the quilt backing downwards. Position the batting on top of the quilt backing. Eliminate the wrinkles and create a smooth surface. Center up the placement of the batting. Finally, place the quilt top above the batting by smoothing the surface.
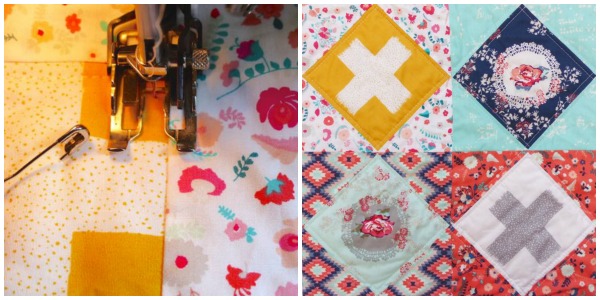
Make sure to align all the pieces so that each one remains in the central part. Fuse all the layers, quilt top, batting, and backing by utilizing any one of the basting technique. You can either pin or spray your quilt pieces together. Remove the regular presser foot installed on your sewing machine and connect the walking foot. Lay the walking arm such that it binds to the screw and keeps the needle in its place. A walking foot will sew only when you position it correctly. Carefully check the sewing machine’s settings and get ready to stitch once you are done with the arrangements.
Opt for straight stitches and set your sewing machine accordingly. The straight stitch length can either be longer or similar to the usual range. Adjust the thread tension appropriately to suit your pace. Choose a seam on the quilt top to begin stitching. Lay the quilt sandwich below the presser foot. Use your fingers to find out the pressed seam allowance. The side that is raised features the seam allowance. As you focus the other part, there will be a depression to accommodate your stitches. It is time to begin stitching. Place the needle above the line, adjust the quilt pieces and go ahead.

